
Photo Wall Decor Ideas: Elevate Your Space Effortlessly
Key Takeaways
- Discover room-by-room and style-based photo wall decor ideas that work for renters and busy homes;
- Apply pro tips for spacing, sizing, and hanging so your gallery wall looks balanced and intentional;
- Create with Mixtiles adhesive, repositionable frames for no-nail installs and effortless seasonal refreshes;
- Follow a simple five-step workflow to go from camera roll to a finished wall in under an hour.
Blank walls are full of potential. Whether you are styling a first apartment or refreshing a forever home, the right photo wall can add personality fast, without holes, hardware, or worry. In this guide, you will find practical photo wall decor ideas for every room, layout tips designers use, and easy steps to bring it all to life with Mixtiles adhesive, repositionable frames. Ready to turn your camera roll into a photo gallery wall that feels custom and polished? Let’s start.
Ready to design your own photo gallery wall? Upload photos in the Mixtiles app or on desktop and preview a beautiful display that installs with no nails.
What makes a great photo wall (and why go damage-free)?
The best gallery walls tell a story, scale correctly to your furniture, and are easy to hang straight. Using adhesive frames you can stick and re-stick keeps things stress free.
- Purpose: Tell a story with family photos, travel photography, AI pet portraits, or milestones that suits your room’s vibe;
- Cohesion: Use matching frames, consistent borders, or a color theme like black and white to unify different images;
- Flexibility: Repositionable tiles let you test layouts, swap prints, and grow your collection over time without patching holes;
- Renter friendly: Mixtiles adhesive holds tight yet removes cleanly on most painted walls, textured walls, wood paneling, or wallpaper.
Mixtiles also offers Gallery Wall Kits for foolproof layouts, Canvas Tiles for a painterly look, and Wall Signs to add a favorite phrase to your art display.
New to this format? Learn what photo tiles are and how they work to decide which styles fit your home.
Which photo wall decor ideas fit your space best?
Choose by room, scale, and how you live. Match the size of your display to nearby furniture, then select a layout that complements your style and the photos you love most.
Living room statement wall
Try a symmetrical grid above the sofa that spans about two thirds of its width for a clean, modern look. If you prefer eclectic interior design, a relaxed salon mix around one focal point creates a unique picture wall.
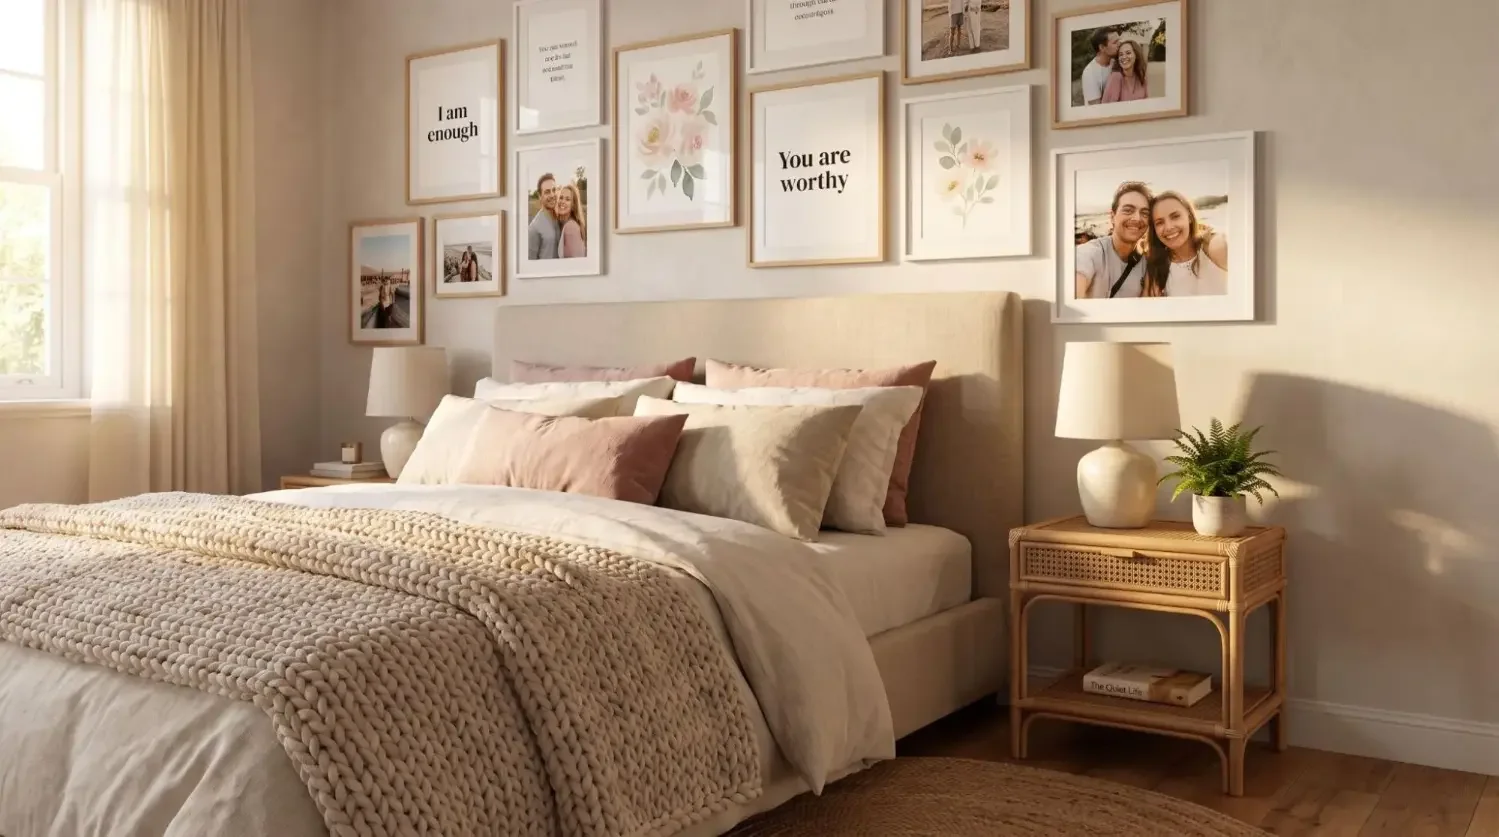
Bedroom sanctuary
Keep it calm with a trio or five-piece row placed 6 to 10 inches above the headboard. Black frames with black and white portraits add a soft, restful touch to a white wall or neutral palette.
Hallway and staircase
Let frames rise with the stairs and keep a consistent centerline for a tidy flow. A timeline, from baby to now or travel by year, turns a busy corridor into a story-filled gallery.
Office or study
In a small space, stack three matching frames vertically for a crisp, minimalist column. Pair motivational quotes with candid wins to create a focused, inspiring backdrop for video calls.
Nursery or kids’ room
Mix colorful milestones, art scans, and playful shapes in a simple grid. Hang a lower row at kid eye level so they can see and engage with their favorite picture or artwork.
Kitchen and dining
Curate food photography, heirloom recipes, or botanicals in a slim grid to avoid clutter. Add a Wall Sign for a family name or breakfast nook greeting to complete the look.
How should you plan your layout so it looks designer-level?
Pick a layout that fits your wall and style, then measure once and hang with a simple centerline. Mixtiles stick, so you can adjust until every picture frame is just right.
For a clear, step-by-step walkthrough on placement and spacing, follow this tutorial on how to hang photo tiles.
Classic grid

Even rows and columns deliver a modern, architectural feel. Square tiles make alignment easy and give small photos a big visual impact.
Linear rows

Run a single straight row over a console or along a hallway for a sleek, gallery look. This is the best way to keep things simple and stylish.
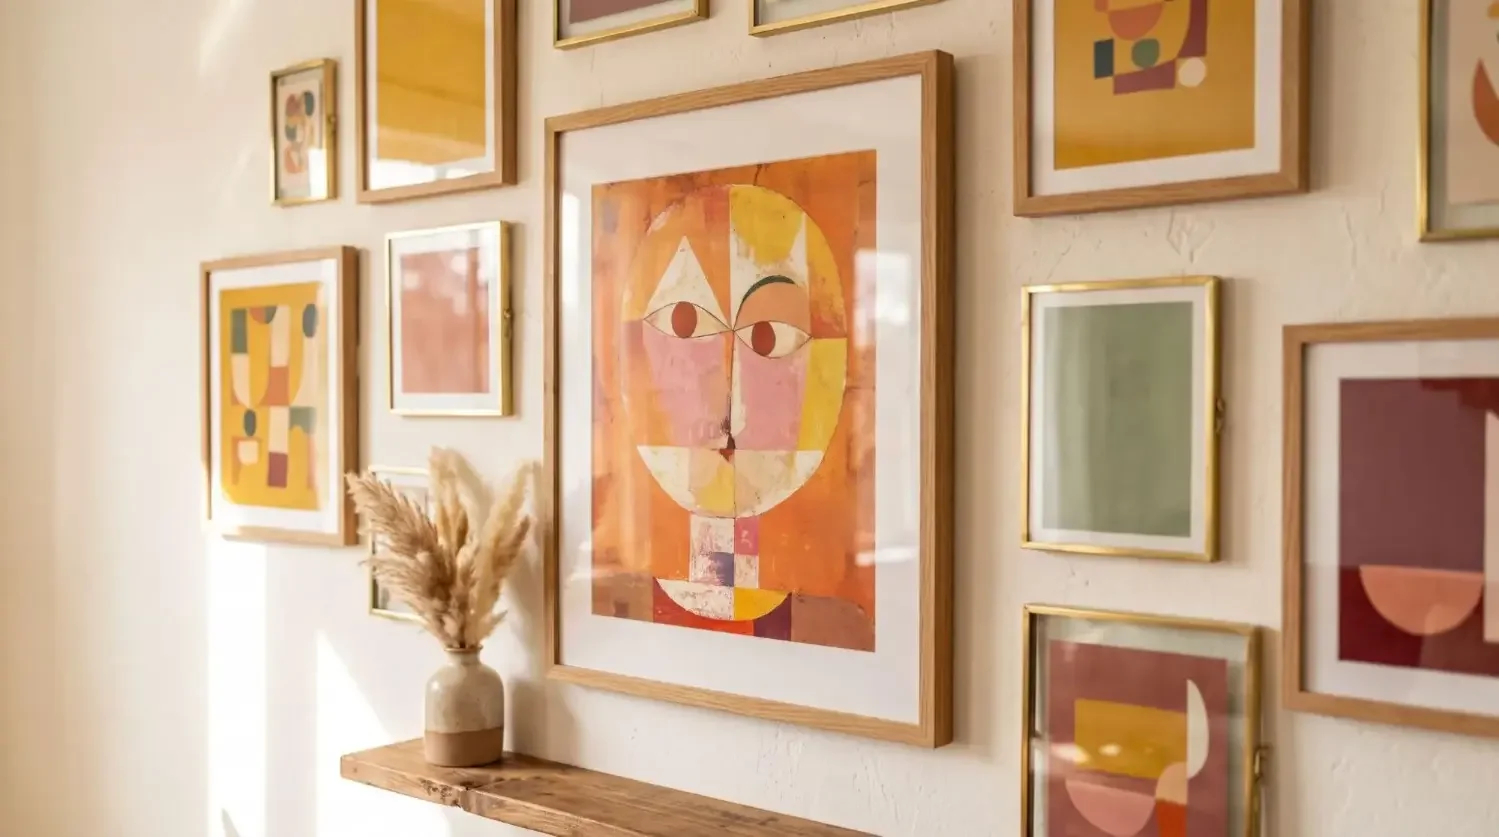
Salon (gallery mix)

Blend sizes and orientations around one anchor piece of art. Maintain equal gaps so the composition feels intentional, not random.
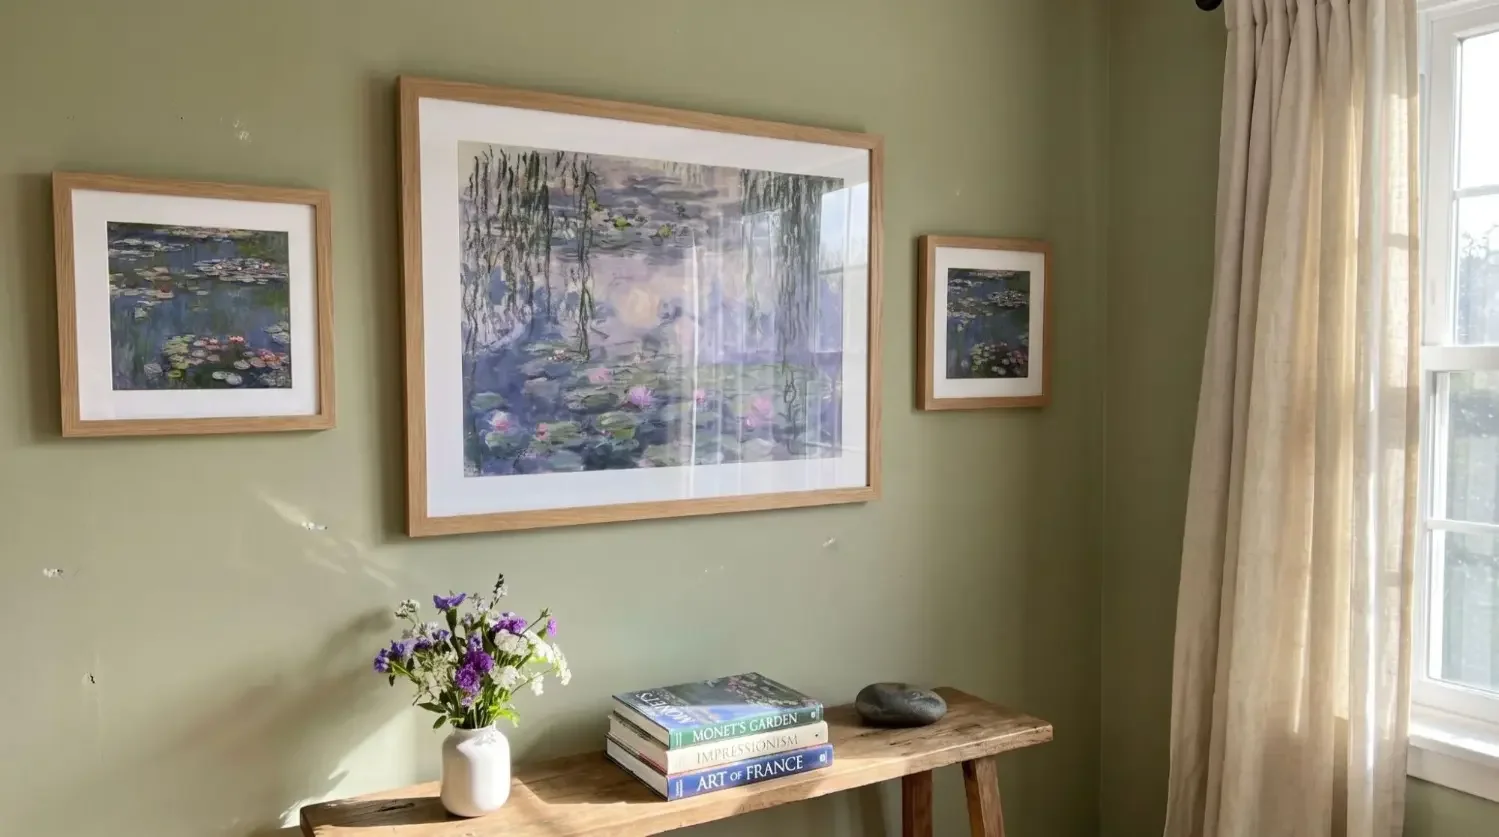
Triptych

Split one large image into three tiles for drama. Landscapes and wide shots work well and create a strong focal point above a sofa or dining room table.
Staircase flow

Follow the incline with consistent spacing. Keep the visual center at eye level as you climb for a balanced, seamless gallery wall.
Spacing and sizing cheat sheet
Use this quick table to size your gallery walls correctly relative to furniture and standard viewing height.
|
Guideline |
Imperial |
Metric |
Where to use |
|---|---|---|---|
|
Gap between frames |
2 in |
5 cm |
Grids and salon mixes |
|
Art centerline height |
57 to 60 in |
145 to 152 cm |
General eye level |
|
Gallery width over sofa |
60 to 75% of sofa width |
60 to 75% of sofa width |
Living room focal point |
|
Clearance above furniture |
6 to 10 in |
15 to 25 cm |
Headboards, consoles, mantels |
What styles and themes can you try right now?
Pick a unifying element to make different images feel like one collection. Color, subject, or frame finish can pull everything together and elevate your home decor.
Modern minimal
Use matching frames and high-contrast black and white photos in a tight grid. The clean lines make small rooms feel calm and intentional.
Cozy boho
Warm colors, candid family photos, and an asymmetrical gallery create a relaxed vibe. Add a canvas tile or two for texture and depth.
Travel stories
Arrange city-by-city rows, then add a map tile as your anchor. Mix close-ups with wide shots to give rhythm and a sense of place.
Color play
Create an ombre wall that shifts from light to saturated tones, or thread one accent hue across many prints. It is a simple way to tie rooms together.
Mixed media
Pair photos with kids’ drawings, quotes, vintage tickets, or recipe cards, all printed as tiles for a flush profile. Fine Art Prints from Mixtiles can round out the set.
Curation quick wins
Choose a single theme, like family photos or pet portraits, then edit out near-duplicates for clarity; vary crops for energy, wide to close-up; include at least one image with breathing space, like a landscape or soft texture.
Visualize before you stick. Use the Mixtiles app to arrange your layout, and consider adding textured canvas prints to your collection for a painterly look.
Can you install a photo wall in under an hour?
Yes, you can. Prep the wall, set a centerline, start from the middle, and let Mixtiles adhesive do the heavy lifting.
1) Pick your set
For a small wall, start with 6 to 12 tiles. For a large feature wall, 12 to 24 works well. Gallery Wall Kits include ready-made frame ideas and templates. If you are starting from camera roll shots, see how to make photo tiles in minutes.
2) Edit for cohesion
Apply a consistent filter or commit to a palette, like warm neutrals. Matching frames or borders make different photos feel like one piece of art.
3) Mock your layout
Arrange tiles on the floor to test spacing. Snap a quick photo as a blueprint so you can follow it on the wall.
4) Mark your centerline
Use painter’s tape to mark a straight guide at 57 to 60 inches. For stairs, mirror the incline. A simple 2 inch spacer keeps gaps even.
5) Peel, stick, adjust
Place the center tile first, then build out symmetrically. Reposition until perfect. Mixtiles work on most painted walls, stucco, and even wood paneling.
Pro tips to get it straight
Use a level app and tape your outer bounds; step back after every two or three tiles; aim for soft, indirect light to reduce glare; clean tiles with a dry, soft cloth only.
Love to switch things up? Try these rotating photo wall decor ideas
Because Mixtiles stick and re-stick, you can refresh your photo display without rehanging or new holes, perfect for seasonal decorating and events.
Seasonal swaps
Rotate holiday images, Valentine’s Day color stories, or summer travel photography. Store extra tiles with wax paper over the adhesive to keep dust off.
Milestone tracker
Create a monthly baby collage, pet glow-up, or new home progress grid. Add a Wall Sign with dates for a clean, labeled look.
Event backdrops
Build a temporary photo booth in the entryway or dining room. After the party, restick tiles into your everyday gallery walls.
How do you avoid the most common gallery wall mistakes?
Keep the centerline between 57 and 60 inches to avoid hanging too high. Do not overmix sizes without an anchor, and scale the gallery to about 60 to 75 percent of the furniture width. Skip harsh downlights that cause glare on framed art, and choose soft lighting instead.
Quick fix-it guide
If a line looks crooked, lift and reposition using a level app; if the wall feels busy, convert a few images to black and white to unify; if the space feels small, simplify to a grid and reduce the total count.
From crisp grids to story-driven salon mixes, these photo wall decor ideas make it easy to create a space that feels uniquely yours. With Mixtiles, you skip nails and stress: you just peel, stick, and adjust until it looks perfect. Start small, build over time, and refresh whenever inspiration strikes. Your memories deserve more than a camera roll, turn them into wall art that grows with you.
Turn today’s inspiration into a damage-free gallery. Upload your photos to create custom photo tiles and build a beautiful wall, designed in minutes and installed in moments.
Frequently Asked Questions
How can I decorate a wall with photos without making holes?
Start with a simple grid or single row, set a centerline at 57 to 60 inches, and keep 2 inch gaps for clean spacing. Use adhesive, repositionable frames like Mixtiles to stick, straighten, and restick until your gallery looks perfect.
What is the two-thirds rule for sizing wall art?
The two-thirds rule means your gallery should span about 60 to 75 percent of the furniture width below it, like a sofa or console. Hang the arrangement 6 to 10 inches above the piece, which keeps proportions balanced and visually grounded.
What are the current trends in photo wall decor?
Large focal images, clean grids, and biophilic themes are in, think nature scenes and organic textures. Black and white sets feel modern, while canvas tiles add depth. Curated color stories and timeline walls keep displays personal yet cohesive.
What is the 57 inch rule for hanging pictures?
The 57 inch rule places the center of your art at about 57 inches from the floor, near average eye level, so it feels natural. In real homes, 57 to 60 inches works well. Above furniture, keep 6 to 10 inches of clearance.
Be the first to know — deals, news & decor ideas.
By clicking you agree to the Terms of Use & Privacy Policy